 Ideas for a smarter digital life.
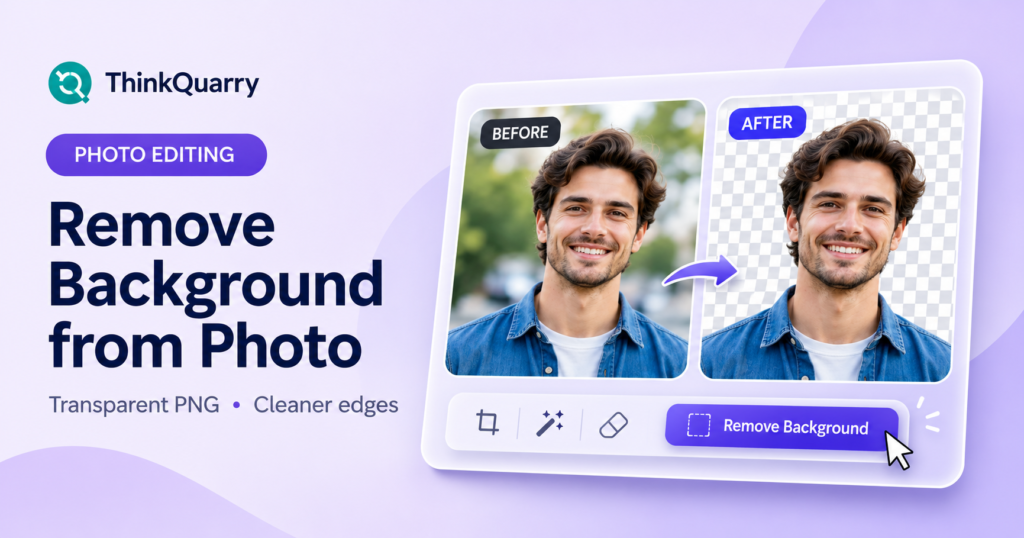
To remove the background from a photo, upload your image to a reliable background remover, allow the tool to isolate your subject, check the edges, and download the result as a transparent PNG. That simple process works well for profile pictures, product listings and many social graphics. Images with fine hair, glass, motion blur or similar foreground and background colors may need a little manual cleanup.
You do not need to be a professional designer to make a background transparent. However, knowing when to use an automatic editor and when to switch to a layer mask can save you a lot of frustration. This guide walks through the complete workflow, including how to erase a background, keep shadows looking natural, replace the background with a new scene and choose the right export format.
What does removing a photo background mean?
A photo has a foreground (the person or object you want to keep) and a background (the scene behind it). Background removal separates the subject and hides or deletes the unwanted pixels. When those pixels become transparent, you can place the cutout on a website, slide, product listing or another background.
A checkerboard in editing software usually indicates transparency. It is not supposed to appear in the finished image itself. If you see gray-and-white squares after exporting and reopening the image, you may have downloaded a preview with a checkerboard baked into the pixels instead of true transparency.
There is also a difference between removing and replacing a background. Removing it creates a cutout; replacing it adds a new color, gradient or photo behind the cutout. You can do either step without needing to rebuild the original image.
How to remove background from photo in five steps
A free online transparent background remover is the fastest starting point for most beginners. Here is a workflow that also helps you spot quality problems before sharing the image.
- Choose your source photo. Start with the highest-resolution original you have. Avoid repeatedly saved screenshots or heavily compressed images.
- Open a background remover. For example, Adobe Express offers a browser-based background removal action. Read the tool’s privacy terms before uploading sensitive or client-owned photos.
- Upload the image. The service identifies the foreground subject and removes the background automatically.
- Zoom in and inspect the edges. Check hair strands, glasses, hands, shoe soles and any areas where the subject has a similar color to the background. Use restore/erase or edge-refinement controls if available.
- Download a transparent PNG. Open the saved file against a dark and then a light background to confirm that it has real transparency and no unwanted fringe.
Adobe’s official background removal tool supports common photo formats and describes an upload–remove–download workflow. Adobe also warns that automated cutouts can lose fine details or low-contrast areas; those are the first places to inspect. See its editing instructions.
Example: A small business owner has a photo of a blue mug sitting on a kitchen table. After removing the table and wall, the owner exports the mug as a transparent PNG, places it on a white product card and checks that the mug’s handle and natural edge are intact.
How to make an image transparent instead of white
A common mistake is to assume a white background means the same thing as transparency. It does not. An image with a white backdrop still contains white pixels, which can show up as a rectangular box on colored pages.
To make an image transparent, remove or mask the background pixels and export to a format that supports alpha transparency. PNG is the most accessible choice for a single graphic, logo or cutout. WebP also supports transparency in suitable workflows, but PNG is often easier to exchange with editing software and clients.
Follow this checklist if your background is still white:
- Confirm that the editor shows a transparent or no-fill canvas rather than a white fill.
- Export in PNG with transparency enabled, if the application offers that setting.
- Avoid JPEG for transparent cutouts. JPEG does not support transparency.
- Test the downloaded image against a colored background in another app.
Do not confuse "make background transparent" with reducing the opacity of the entire image. Lowering overall opacity also fades the person or product you wanted to keep.
Use Adobe Express as a transparent background maker
Adobe Express is useful when you need an uncomplicated browser workflow without making detailed selections by hand. Upload a photo, remove the background, then either download the cutout or open it in the editor to add a new background or design elements.
When editing inside the full Adobe Express canvas, Adobe’s documentation explains that you may need to set the canvas background to No fill and select Transparent PNG on export. These extra steps matter because a transparent subject placed on a white design canvas can otherwise export with that white design background.
Best suited to: headshots, product photos, isolated objects and quick social visuals. Less reliable without manual intervention: flyaway hair, delicate lace, semi-transparent glass and objects blending into the scene. Always inspect rather than assuming automatic removal is perfect.
Remove or eliminate the background in Photoshop
Photoshop offers more control when an automatic background remover produces rough edges. Adobe’s Remove Background Quick Action is a quick place to start:
- Open the photo in Photoshop and select the correct, unlocked image layer.
- Open Help → Photoshop Help, or use the Discover search.
- Go to Browse → Quick Actions → Remove Background.
- Apply the action to isolate the subject. Depending on the workflow, Photoshop creates a transparent background or a masked layer.
- Inspect the mask and refine any rough areas before exporting a PNG.
For a more difficult photo, use Select Subject followed by Select and Mask or edit the resulting layer mask. A mask is preferable to permanently deleting pixels because you can restore missing hair, fabric or object edges later. Adobe’s background-selection guidance recommends edge refinement when the automatic selection is imperfect.
If you searched for something like “eliminate background Photoshop,” the central idea is the same: isolate the subject, refine its mask and export the cutout instead of deleting irreplaceable original pixels.
Fix hair, shadows and difficult edges
Automated tools can select the main subject correctly while still making the image look artificial. Three common problems are worth checking.
Fine hair and fur
Flyaway strands may disappear, or a light halo from the old background may remain. Zoom to at least 100% and inspect the outer boundary. Use the editor’s hair-refinement tools or make small mask adjustments. When you place dark hair against a pale new background, remaining halos become easier to see.
Glass, transparent plastic and reflective objects
A drinking glass or translucent product often contains part of the background inside the object. Cutting everything except a solid outline may make it look opaque or unnatural. For commerce photography, compare against the original and consider manually preserving internal reflections.
Contact shadows and product realism
A completely isolated product can appear to float. For a natural-looking composition, add a soft new shadow or retain a cleaned-up version of the original contact shadow. Avoid inventing strong shadows that suggest a different light direction from the product itself.
Quick quality test: put the subject over both #ffffff and #1f2937 backgrounds. A fringe that is invisible on white may become obvious on dark gray, and vice versa.
How to change background in photo after removal
After you erase the background, you can replace it with a brand color, a clean studio backdrop or another scene. This is often more useful than leaving the image transparent.
- Create a new canvas or open an existing design.
- Import the subject as a cutout on its own layer.
- Place your replacement background on a layer underneath the subject.
- Match color temperature, light direction and perspective where possible.
- Check the composition on mobile and desktop before exporting.
For a product listing, a plain white or neutral background may be clearest. For a campaign poster, a subtle gradient gives the headline room to breathe. For a professional headshot, avoid a busy backdrop that competes with the person’s face.
Choosing a background-removal method
| What you need | Good starting method | What to watch for |
|---|---|---|
| Quick cutout of one person | Online automatic remover | Missing hair or glasses details |
| Simple product on a distinct background | Online remover or one-click editor | Handle holes, contact shadows |
| Complex subject with transparent edges | Photoshop with layer masks | Time spent on manual refinement |
| New background for marketing creative | Remover plus design editor | Realistic light and color matching |
| Repeated large batches | Dedicated batch workflow | Cost, resolution caps and consistency |
There is no universal winner: the best transparent background maker depends on subject complexity, output size, privacy requirements and whether you need to revise the cutout later.
Why a background removal result looks bad
Before giving up on an image, diagnose the problem:
- The subject is partly missing: restore the damaged area with a mask or use a sharper source photo.
- Edges look jagged: begin with a higher-resolution image and refine the selection; avoid aggressive sharpening.
- White or colored halo: reduce old-background contamination around the boundary.
- File opens with a white box: confirm transparency and export as PNG rather than JPEG.
- Cutout looks pasted on: add realistic contact shadows and adjust background color temperature.
- Upload is rejected: check file type, file size, rights and whether the service is temporarily unavailable.
If the original photo is extremely blurry, no background remover can recover detail that was never recorded. Choose a clearer image rather than over-editing an unsuitable source.
Where transparent images are useful
Background-free graphics support product catalog photos, marketplace thumbnails, digital resumes, team directories, presentation slides, YouTube thumbnails and simple social-media layouts. A transparent product image is also easy to reuse across backgrounds without editing it again each time.
For a blog or product page, choose an output size appropriate to the layout and compress your image without crushing important edges. Readers who prepare photos for the web can also use ThinkQuarry’s Image Compressor & Resizer after checking the correct live tool URL, especially when the final file is larger than needed. Compression should not silently remove transparency.
Frequently asked questions
How do I remove the background of an image for free?
Upload the picture to a trustworthy free background remover, let it detect the subject, review the cutout and download a transparent PNG. Confirm the free tier’s file-size, resolution and privacy conditions before using it for client work.
What is the easiest way to make background transparent?
Use an automatic remover and export the cutout as PNG. The key is to remove or mask only the background—not to make the entire image partially invisible.
Can I remove background image elements without Photoshop?
Yes. Browser-based editors can remove a subject’s surroundings automatically. Photoshop becomes valuable when you need high-precision masking and repeatable professional edits.
Does PNG always have a transparent background?
No. PNG supports transparency, but a PNG file may contain a solid white or colored background. Open the downloaded file over a contrasting color to verify its alpha channel.
Can I change the background of a photo after removing it?
Yes. Place the subject on a new layer above a replacement backdrop, then adjust shadows and colors to make the composition look natural.
Why does a transparent background have a checkerboard pattern?
Many editors use a checkerboard preview to show transparent regions. It should disappear when you place the exported cutout over a colored background; if it remains visible as squares, it may be part of the image pixels.
Final checklist
For a clean transparent photo: use a sharp original, remove the background, refine difficult edges, export a true transparent PNG and preview it over contrasting colors. If you need more control or a natural composite, move to layers and masks instead of repeatedly running automatic removal.
Editorial note: Tool features, file limits and account requirements can change. This guide describes documented workflows; it does not claim ThinkQuarry carried out head-to-head laboratory tests of the products.
Sources and further reading
- Adobe Express — Free image background remover
- Adobe Express — Remove backgrounds in the editor
- Adobe Photoshop — Remove Background Quick Action
- Adobe Photoshop — Background selection and edge refinement
Continue with how to design a logo for practical transparent-file and branding tips, or learn how to create social media images with Gemini.